Learn using H-Bridge Motor Driver in Arduino. We will learn about the basics and H-Bridge Motor Driver. In this L293D H-Bridge Motor Driver and Arduino Uno Board are used.
First, let’s start with the basics of all the 16 pins of L293D H-Bridge Motor Driver.
Enable Pin x 2
Input 1 (Controlled by Enable 1)
Output 1 (Controlled by Enable 1)
Ground Pin x 4
Output 2 (Controlled by Enable 1)
Input 2 (Controlled by Enable 1)
Motor Voltage Pin
Input 3 (Controlled by Enable 2)
Output 3 (Controlled by Enable 2)
VSS (5V to power controller)
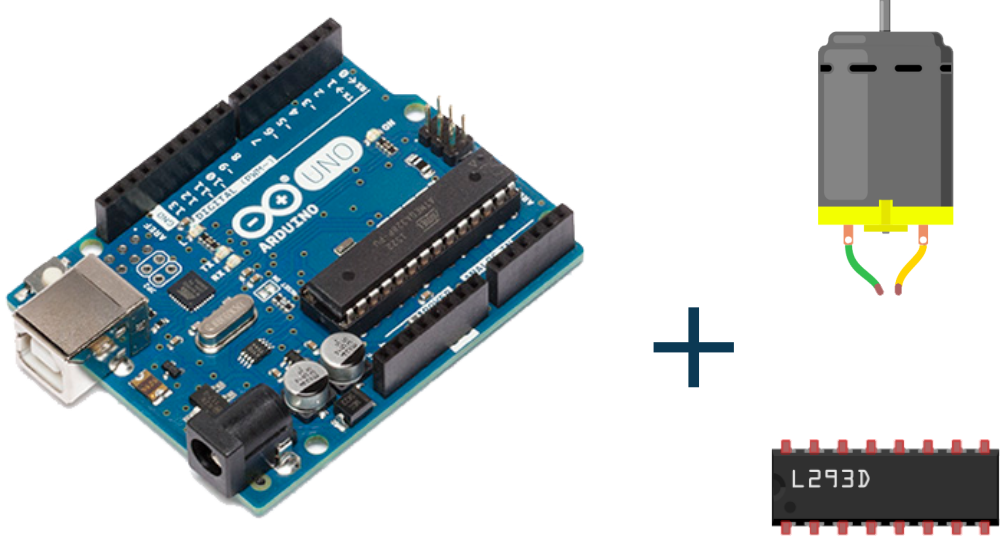
Step 1: Required Components
L293D H-Bridge Motor Driver x 1
DC Motor x 1
Arduino Uno Board x 1
9V Battery x 1
Jumper Wires
Step 2: Circuit Time

Make a circuit as per the given diagram. Here Arduino pin 11 is connected to Motor Input 1, pin 9 is connected to enable Motor Input 2. Motor Driver enable pin is connected to 5V, Motor Voltage Pin is connected to 9V, Output pins are connected to Motor and GND pins connected to Ground.
Step 3: Code Time
This is the code for Driving Motor through H-Bridge Motor Driver. Here, Pin 11 and Pin 9 are declared. In Setup, Pin 9 and Pin 11 are set as Output Pins. In the loop, Input 1 is set to analog 0 and Input 2 is set to analog 255.
Step 4: Upload the code to Arduino
Upload the above-given code to the Arduino Uno Board after the components are set as per the Circuit Diagram. The Motor will drive as per the speed of Analog input 2 value.
Learn more information about uploading code to Arduino Uno.