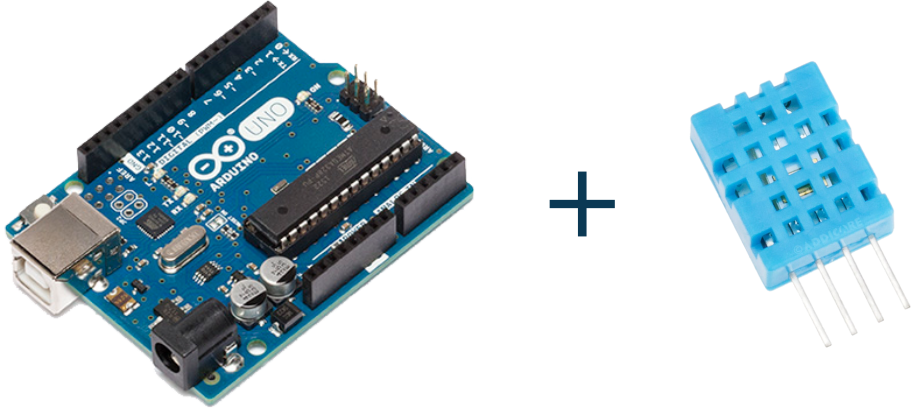
Learn the interfacing of the DHT11 Temperature and Humidity sensor with Arduino. The DHT11 sensor is capable of measuring Temperature as well as humidity. We will be using Arduino Uno and DHT11 sensor for this. So, let’s start.
First, let’s start with the basics of the DHT11 Temperature and Humidity sensor.
Power: 3-5V
Current: 2.5mA
Humidity: 20-95%, ±5% accuracy
Temperature: 0 to 50°C, ±2°C accuracy
Step 1: Required Components
DHT11 Sensor x 1
Breadboard x 1
Arduino Uno Board x 1
Jumper Wires
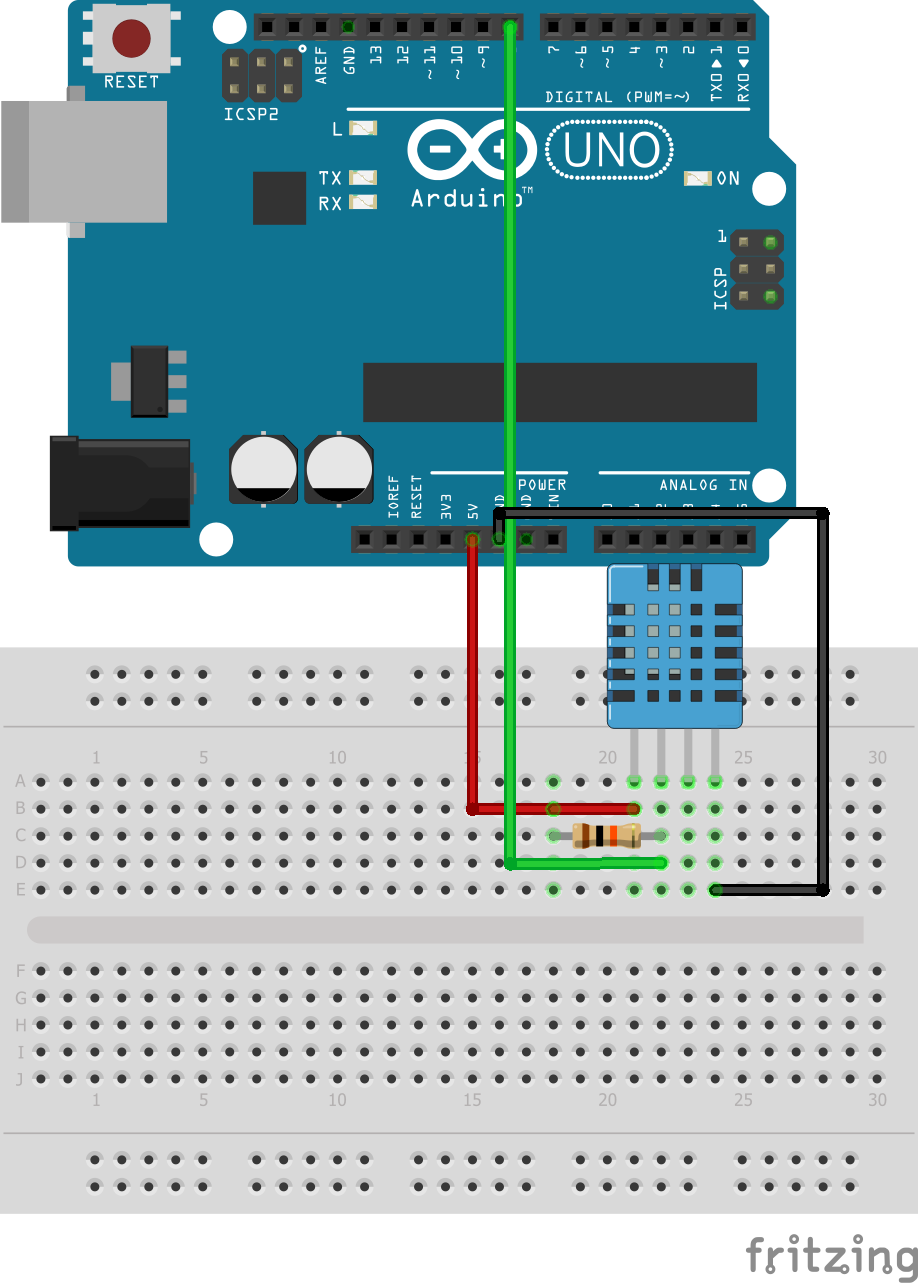
Step 2: Circuit Time
Make the circuit as per the given diagram. DHT11 has 3 pins, VCC, GND, and Data. VCC pin is used to provide power supply to the module and Data pin sends data to the Arduino board. Connect the VCC pin of DHT11 to +5v of Arduino. Then, Connect Data pin of DHT11 to pin 8 of Arduino. Now, Connect the GND pin to the GND of Arduino.
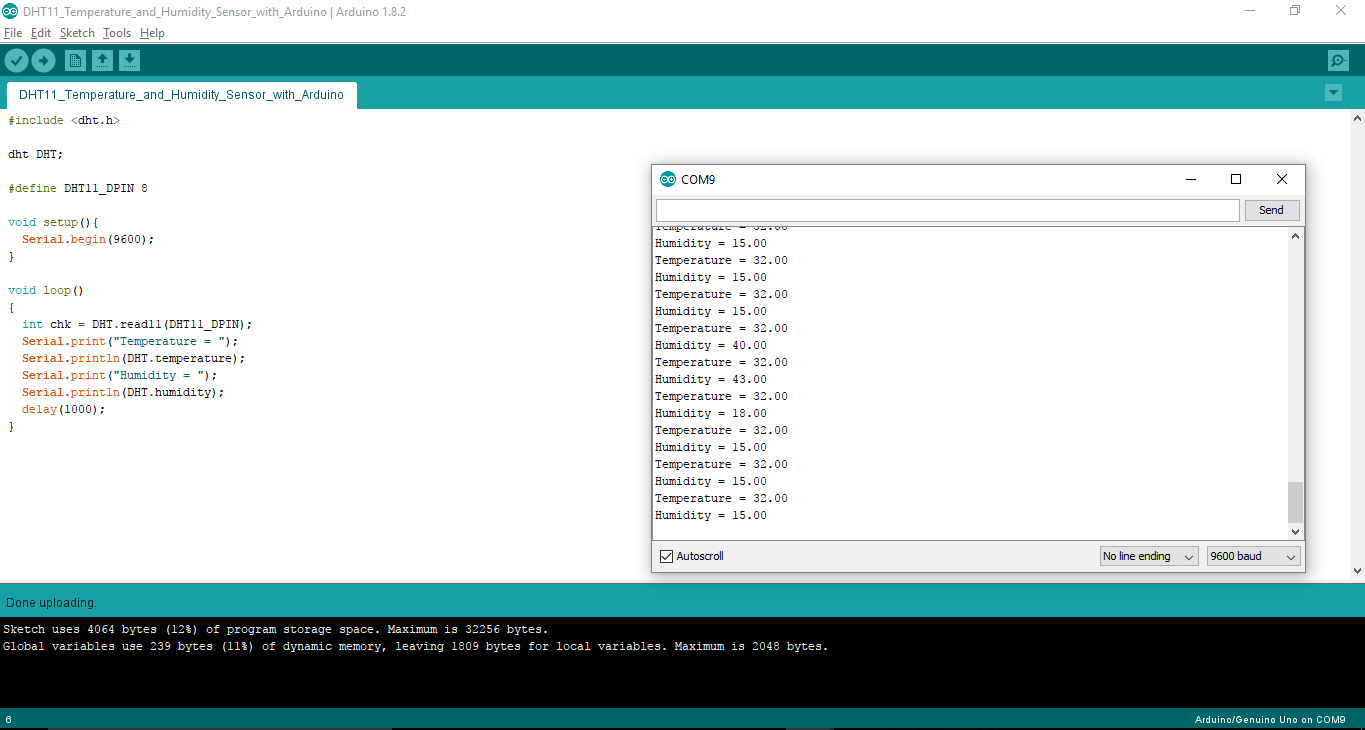
Step 3: Code Time
This is code for DHT11 in Arduino. We have included the “dht” library included in Arduino IDE. Then, declare the Data pin as pin 8. Begin the serial monitor at 9600 baud rate. Use the DHT.read11 to take a reading from the DHT11 Data pin. Now, the Serial monitor then prints Temperature and humidity.
Step 4: Upload the code to Arduino
Upload the above-given code to the Arduino Uno Board after the components are set as per the Circuit Diagram. Data pin of DHT11 provides reading to the Arduino board and Arduino will display it in the serial monitor. The screenshot of the output of the Serial Monitor is as below.
Learn more information about uploading code to Arduino Uno.