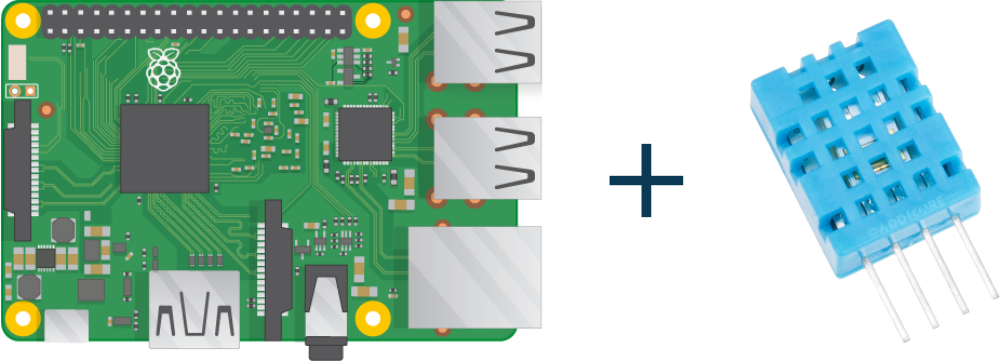
Learn the interfacing of DHT11 Temperature and Humidity Sensor in Raspberry Pi. The DHT11 sensor is capable of measuring Temperature as well as humidity. So, let’s start.
First, let’s start with the basics of the DHT11 Temperature and Humidity Sensor.
Power: 3-5V
Current: 2.5mA
Humidity: 20-95%, ±5% accuracy
Temperature: 0 to 50°C, ±2°C accuracy
Step 1: Required Components
DHT11 Sensor x 1
Breadboard x 1
Raspberry Pi x 1
Jumper Wires
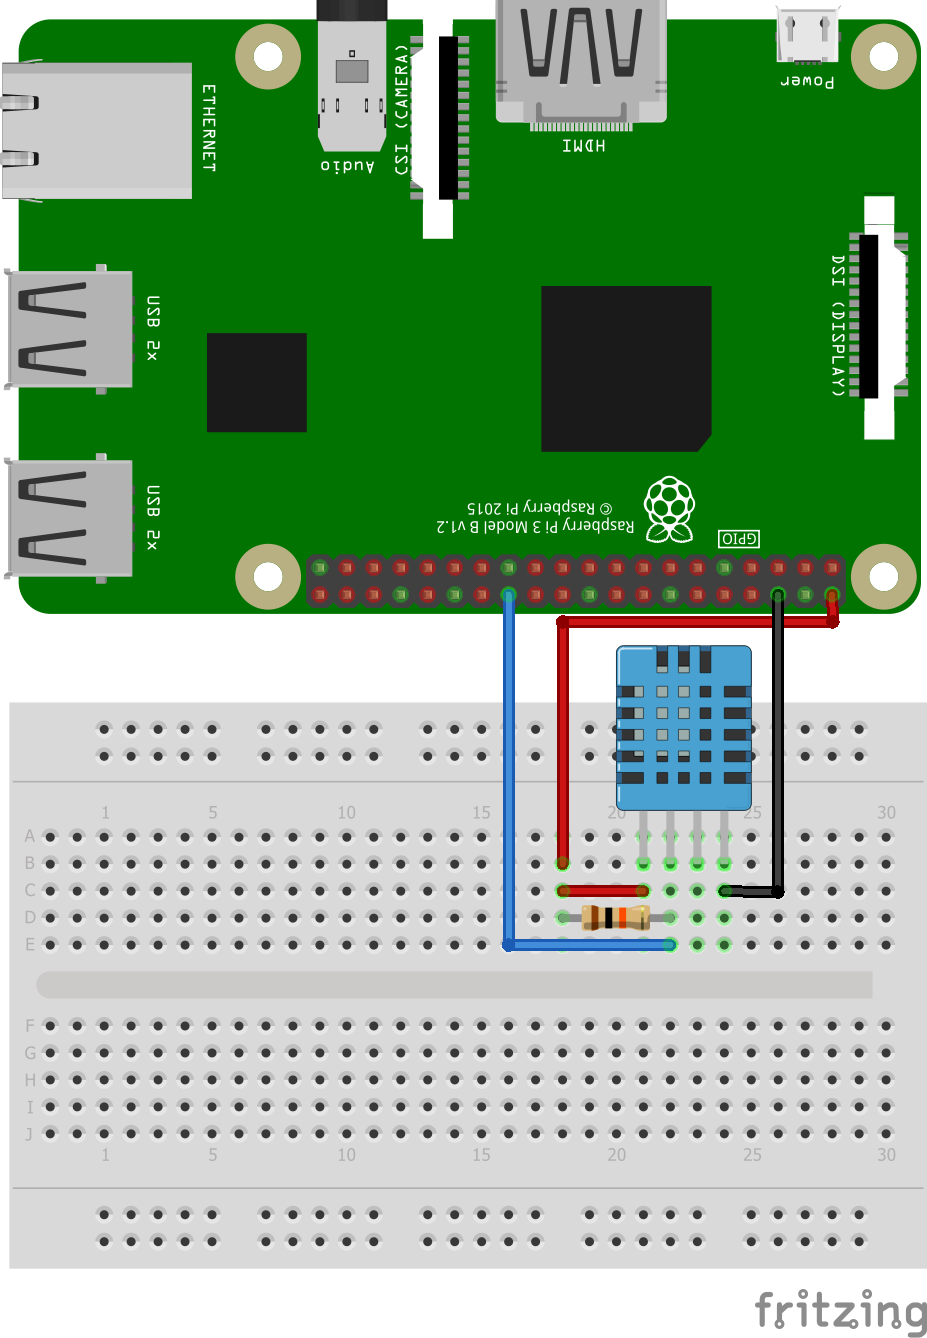
Step 2: Circuit Time
Make the circuit as per the given diagram. DHT11 has 3 pins, VCC, GND, and Data. VCC pin is used to provide power supply to the module and Data pin sends data to Raspberry Pi. Connect the VCC pin of DHT11 to +5v of Raspberry Pi. Then, Connect the Data pin of DHT11 to GPIO 7 of Raspberry Pi. Now, Connect GND pin to GND of Raspberry Pi.
Step 3: Code Time
This is the code for Pushbutton with LED in Raspberry PI. First imported sys and Adafruit_DHT library (For using DHT11 Temperature and Humidity Sensor in Raspberry Pi, install Adafruit DHT11 Python library) In the while loop, read the data from Sensor and stored it into variables. After that, the values of variables are printed on the screen.
Step 4: Run code to Raspberry Pi
Set the components as per the Circuit Diagram and run the above-given code in Raspberry Pi. Data pin of DHT11 provides reading to Raspberry Pi and Raspberry Pi will display the readings. Below is a screenshot of the readings provided by DHT11.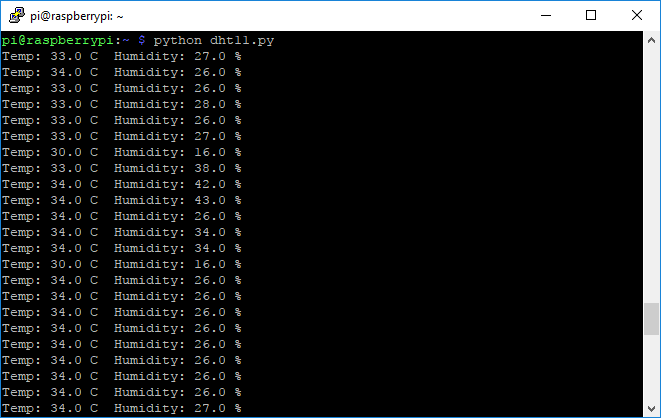
For running python code in Raspberry Pi, visit: raspberrypi.org/documentation/usage/python/
Learn basic hardware information of Raspberry Pi 3.
How to controll the over heat protection auto cutoff circuit baker, I used DHT11 Sensor for room temperature auto cutoff chemni for detections Humidity & Temperature with auto ON & OFF but the value of serial print code was not working how to read the Serial data for DHT11 Sensor relay ON & OFF based on temperature & humidity.
http://bigbelectronics.in/product.php?product=dht11-temperature-and-humidity-sensor-module-arduino-raspberry-pi