Learn setting up SSH connection in Raspberry Pi. The command line of Raspberry Pi is accessed using SSH connection. SSH will remotely connect Raspberry Pi to any computer which will be the client. Using SSH you can only access the command line, GUI is not available using SSH. So, let’s start.
Step 1: Fetching IP Address
- Connect Raspberry Pi to the router using WiFi.
- Alternatively, you can directly connect to the router using Ethernet Cable.
- In terminal type
ifconfig
Step 2: Enable SSH on Raspberry Pi
There are three ways to enable SSH connection in Raspberry Pi.
1. Enabling SSH via GUI
- Open the Raspberry Pi configuration menu.
- In the interfaces tab, Enable SSH.
- Now, click ok and exit.
2. Enabling SSH via terminal
- Open terminal and type
sudo raspi -config - Select interfacing options, then go to SSH.
- Now, choose YES and then select OK.
- Now click finish and exit
3. Enabling SSH for headless display
By placing the Raspbian image on a blank SD card, you will have two partitions. In a smaller partition, place a file named SSH. When Raspberry Pi boots up, it will look for SSH file and if it is found then SSH will be enabled.
Step 3: Set up client
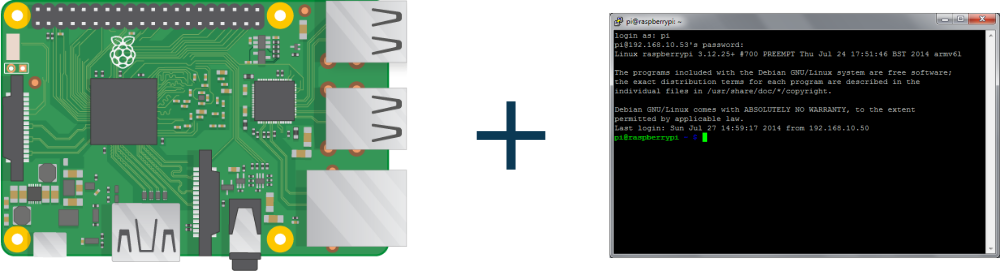
In macOS and Linux, SSH client is already present. For Windows, you will have to install a 3rd party SSH client. In SSH client you will have to provide the IP address and port number of your Raspberry Pi. Then, you will be provided with a security alert that you have to accept to access Raspberry Pi. Now, provide your login credentials of Raspberry Pi to log in and you are good to go.
Learn basic hardware information about Raspberry Pi 3