Learn Setting up Raspberry Pi with Raspbian OS to SD Card. Also, learn about ways to connect Raspberry Pi to the internet.
Required Components
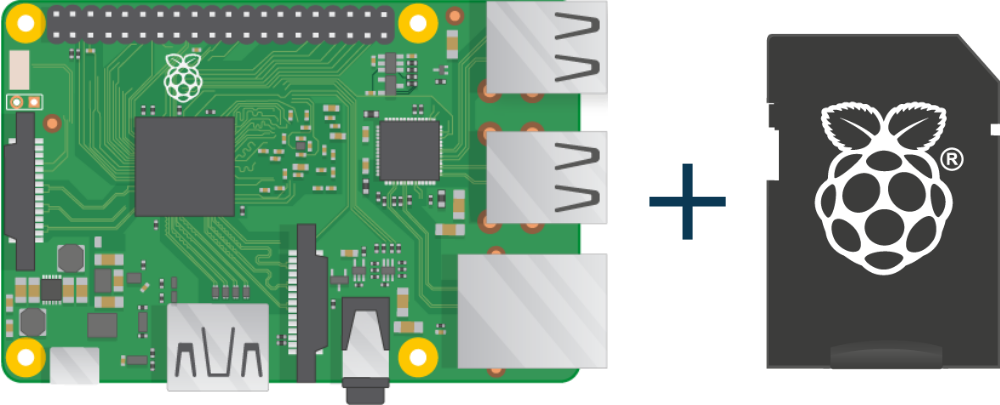
Raspberry Pi x 1
HDMI cable x 1
Monitor or TV x 1
Micro USB Power supply (5V/2.5A) x 1
USB Keyboard & Mouse (wired/wireless) x 1
SD card (8GB preferable) x 1
Installing Raspbian OS on SD card:
- Download the official image of Raspbian. You can download other official images for Raspberry Pi from here.
- The image will be in .img format inside the Zip file. So, extract the Zip file first.
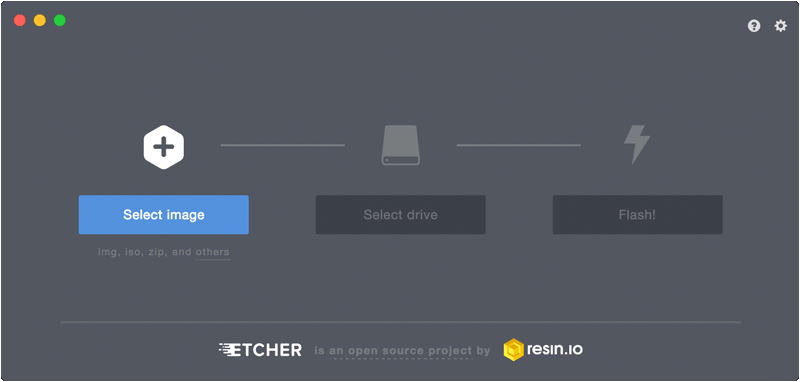
- To write an image on the SD card you will need an image writing tool. Etcher is an open-source image writing tool. Download and install it. (Etcher supports .zip and .img file format for image writing)
- Insert the SD card in the card reader and insert it into the computer.
- Open etcher and select your .img file.
- Select the SD card on which you want to write the image to.
- Click “Flash!” to begin writing to your SD card.
- After writing has completed you can insert an SD card in your Raspberry Pi.
Setting up Raspberry Pi for the First Time:
- Insert OS installed an SD card into Raspberry Pi.
- Plug-in keyboard and mouse into USB ports in Raspberry Pi.
- Connect HDMI cable from Raspberry Pi to Monitor or TV.
- Now, go ahead and plug-in the micro USB power supply. Raspberry PI will start with Raspbian OS.
Connecting Raspberry Pi to the Internet:
There are two possible ways to connect Raspberry Pi to the internet.
- Using Ethernet cable
- Using WiFi
If you are using versions older than Raspberry Pi 3 (which don’t have inbuilt WiFi) than you can connect to the internet via Ethernet cable or USB WiFi dongle.
After you connected to the internet via Ethernet cable or WiFi, you can start browsing the internet.
Learn basic hardware information of Raspberry Pi 3.