Learn Setting Up a VNC (Virtual Network Computing) on Raspberry Pi. Virtual Network Computing (VNC) is a graphical desktop sharing system. It uses the Remote Frame Buffer protocol (RFB) to remotely control another computer. It transmits the keyboard and mouse events from one computer to another, relaying the graphical screen updates back in the other direction, over a network. So, let’s start.
Step 1: Installing VNC on Raspberry Pi
Start the Terminal window and install VNC by entering below given command.
sudo apt-get update
sudo apt-get install realvnc-vnc-server realvnc-vnc-viewer
Step 2: Enable VNC Server in Raspberry Pi
There are two ways to enable the VNC server
1. Enabling VNC Server using Command Line
Follow the below-given instructions
- Enter the command to open Raspberry Pi Configuration
sudo raspi-config - Go to “Interfacing Options”
- Select the “VNC” section
- Select Yes in that
2. Enabling VNC Server using GUI
Follow the below-given instructions
- Start the Raspberry Pi using the Graphical User Interface.
- Go to Menu > Preferences > Raspberry Pi Configuration > Interfaces
- Check the VNC enabled or not. If not then turn it on.
You have turned on the VNC Server.
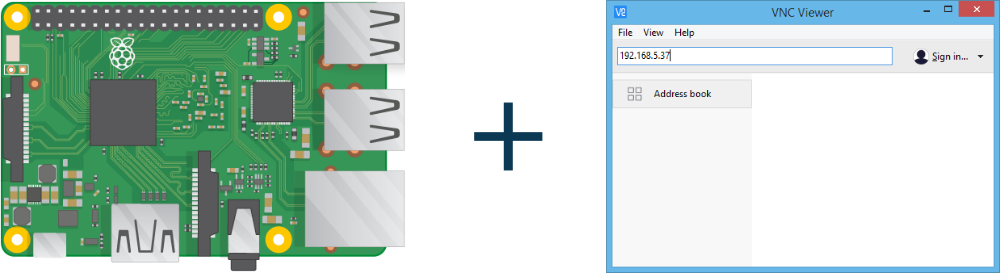
Step 3: Connect to Raspberry Pi using VNC Viewer
- Check the IP of your Raspberry Pi
- Download and install VNC Viewer to your device.
- Enter IP of Raspberry Pi into Viewer
- Press the enter button and enter your Raspberry Pi’s login credentials into the username and password block.
Learn basic hardware information about Raspberry Pi 3