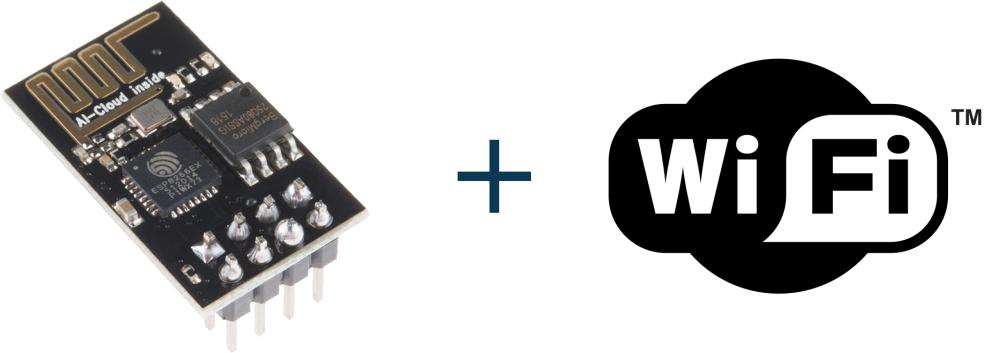
Establish WiFi Connection in the ESP8266 WiFi Module is so easy. ESP8266/NodeMCU supports two modes for the establishment of a WiFi network.
- Station Mode
- Access Point Mode
Let’s get started with setting up station mode for establishing a WiFi connection in ESP8266.
Station Mode
Station mode means ESP8266 Module/NodeMCU will connect to a specific WiFi network. Enter the WiFi credentials (SSID and Password) in WiFi.begin. Check out the code for connecting ESP8266 to the WiFi network.
Upload the above-given code to Establish WiFi Connection in ESP8266. First, it will print “Connecting to WiFi network…”. On a successful WiFi connection, It will print “Connection established” on the serial monitor. If it faces any issue in WiFi connection or taking more time, it will print “Waiting to connect…”. It will also print its IP address on the serial.
This is all about connecting WiFi to one SSID and Password. If you have multiple WiFi and you want to connect the strongest nearby available WiFi, you need to make changes as below.
Use ESP8266WiFiMulti Library to add multiple networks to list. Add SSID and Passwords to the created class of ESP8266WiFiMulti and call the run method.
Access Point Mode
Access Point mode allows the ESP8266 Module to make its own network. It allows laptops and smartphones to connect it. Function SoftAP is helpful to create a network. Enter your custom SSID and Password for the network.
It will host the network as per the given SSID and Password.
Learn about uploading code to ESP8266 or programming NodeMCU Module with Arduino IDE.

in ESP8266WiFiMulti Library to add multiple networks how many network IDs we can give to it?