Learn interfacing servo motor with Raspberry Pi. Servo motors have a great feature as they can turn to the desired position. Usually servo motor can turn to 180 degrees, but using Raspberry Pi they can be rotated to the desired position. They are generally used in the steering wheel for the RC car. Here we are going to see the basic working of the servo motor. So, let’s start.
Step 1: Required Components
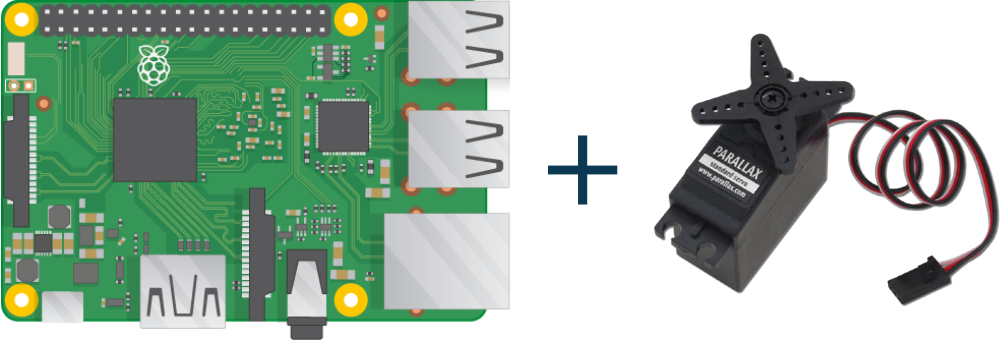
Servo motor x 1
Raspberry Pi x 1
Jumper Wires
Step 2: Circuit Time
Servo motors have three pins, power(+5), ground, and a signal pin. Connect the power pin of the servo motor to the +5v pin of Raspberry Pi. Now, connect the ground pin to the GND of Raspberry Pi. Connect the servo signal pin with Raspberry Pi’s GPIO Pin 17. Servo motors consume more power.
Step 3: Code Time
This is code for interfacing servo motor with Raspberry Pi. Import GPIO library and time library. Set GPIO pin 17 as output. We have initialized GPIO pin 17 at 50hz which is the initial position of the servo.Start() starts servo motor with 0 degrees. ChangeDutyCycle changes the degree of rotation of Servo Motor. Setting the duty cycle to 7.5 will rotate the servo to 90 degrees. To rotate the servo to 180 degrees, set the duty cycle to 12.5.
Step 4: Run code to Raspberry Pi
Run the Python program in your Raspberry Pi after setting components as per the circuit diagram. The code will rotate the servo motor to 90 degrees.
For running python code in Raspberry PI, visit: raspberrypi.org/documentation/usage/python/
Learn basic hardware information about Raspberry Pi 3