Here we will turn on and off LED with Pushbutton in Arduino. We will learn about working with Digital Input Pins and also about Pushbutton. Currently, we are using the Arduino Uno board. You can use any Arduino/Genuino Board and perform this experiment on that. So, let’s start it.
Step 1: Required Components
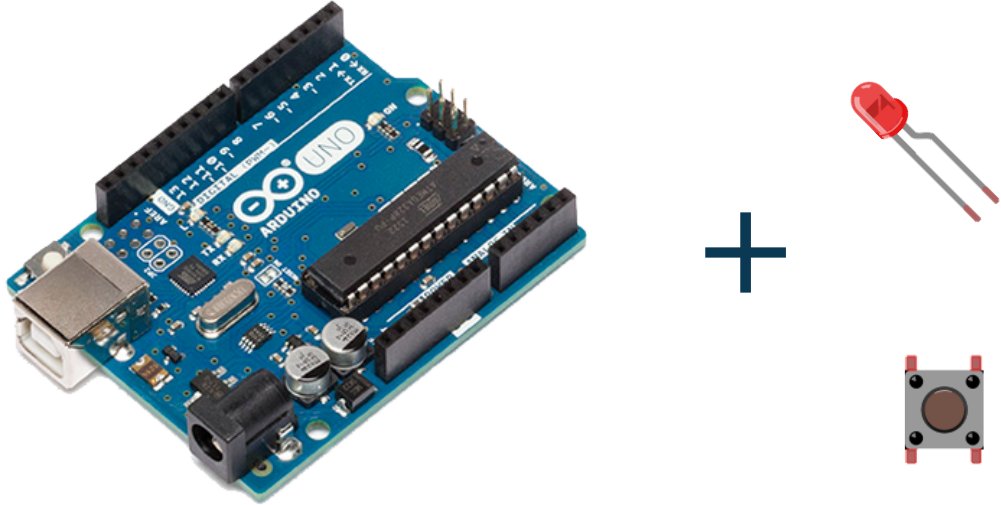
Generic LED x 1
Pushbutton Switch x 1
Arduino Uno Board x 1
Breadboard x 1
Resistors
Jumper Wires
Step 2: Circuit Time
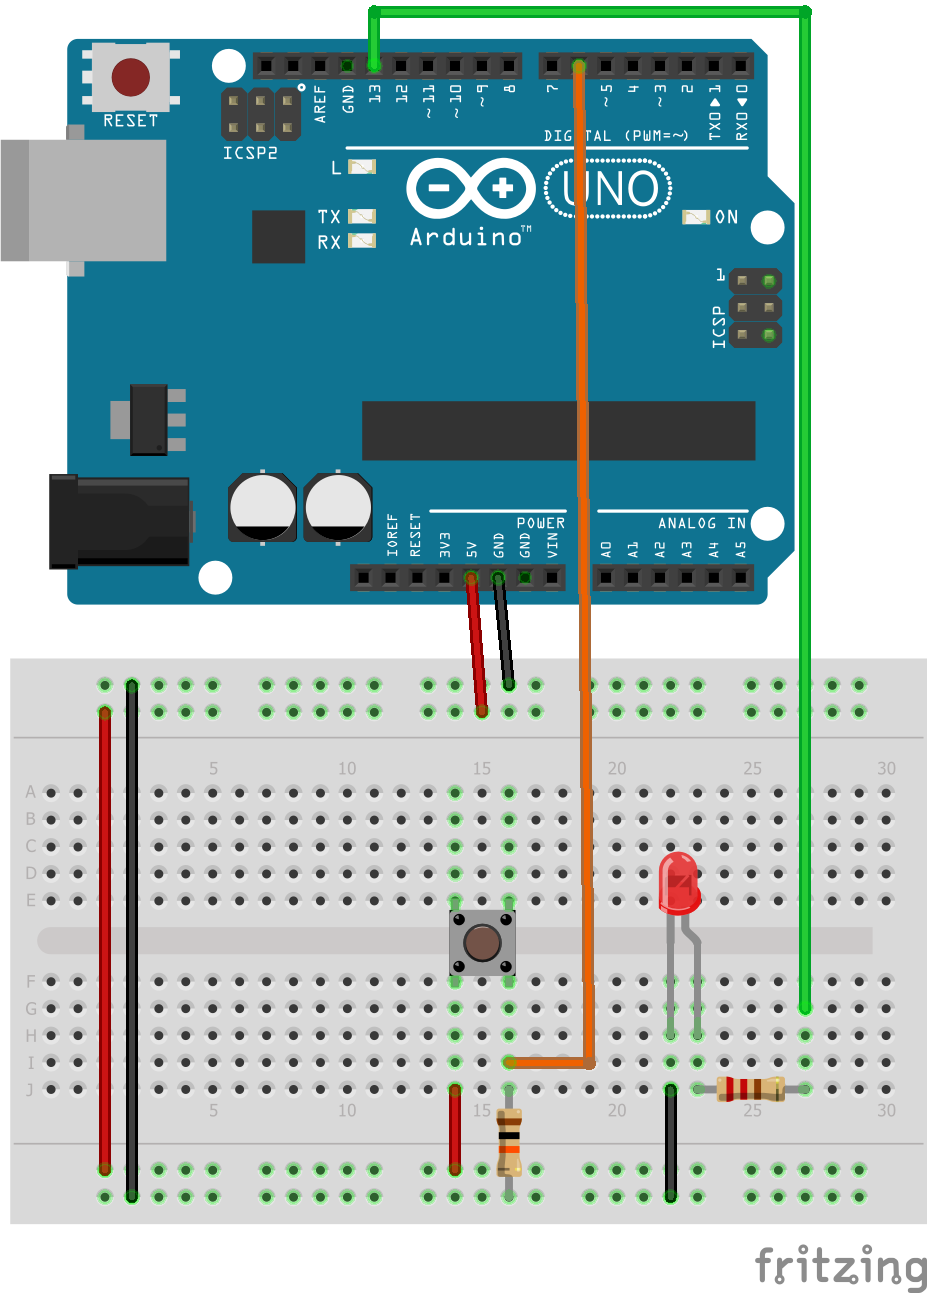
Make a circuit as per the given diagram. In this when the button is pressed, the LED will turn on and the button is released, the LED will turn off. Here we have connected the Pushbutton to Pin 6 and LED is connected to Pin 13 of Arduino Uno Board.
Step 3: Code Time
This is the code for Pushbutton and LED. Here, we have declared two pins for Pushbutton and LED. In setup, the LED pin is initialized as an output pin and Pushbutton Pin is initialized as an input pin. In the loop, there are two states of Pushbutton, HIGH and LOW. When the Pushbutton state is High, the LED will turn ON and Pushbutton state is Low, the LED will turn OFF.
Step 4: Upload the code to Arduino
Upload the above-given code to the Arduino Uno Board after the components are set as per the Circuit Diagram. The LED will turn on when you press the Pushbutton and turn off when you release Pushbutton.
Learn more information about uploading code to Arduino Uno.
Nice and simple. Thanks for sharing this.
Thank you. Please share it among your friends and network.