Learn the working of LED with Pushbutton in Raspberry Pi. Also, working with Pushbutton in Raspberry Pi. The LED will turn on at pressing Pushbutton. So, let’s start.
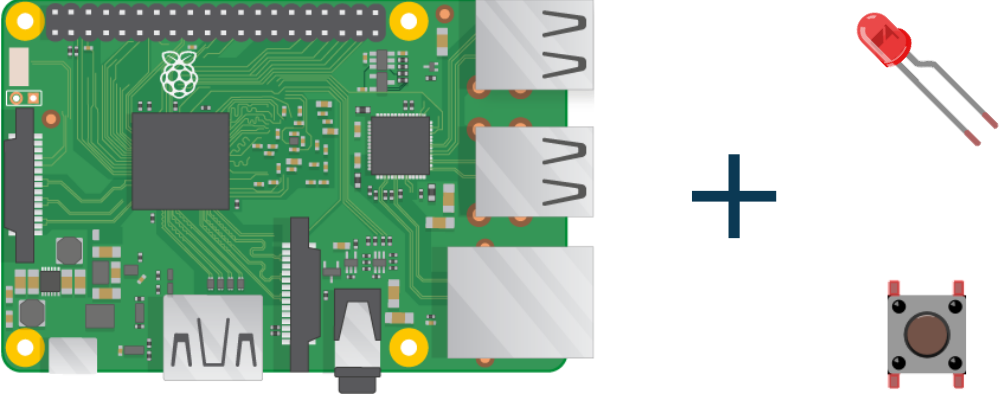
Step 1: Required Components
Generic LED x 1
Pushbutton Switch x 1
Raspberry Pi Board x 1
Breadboard x 1
Resistors
Jumper Wires
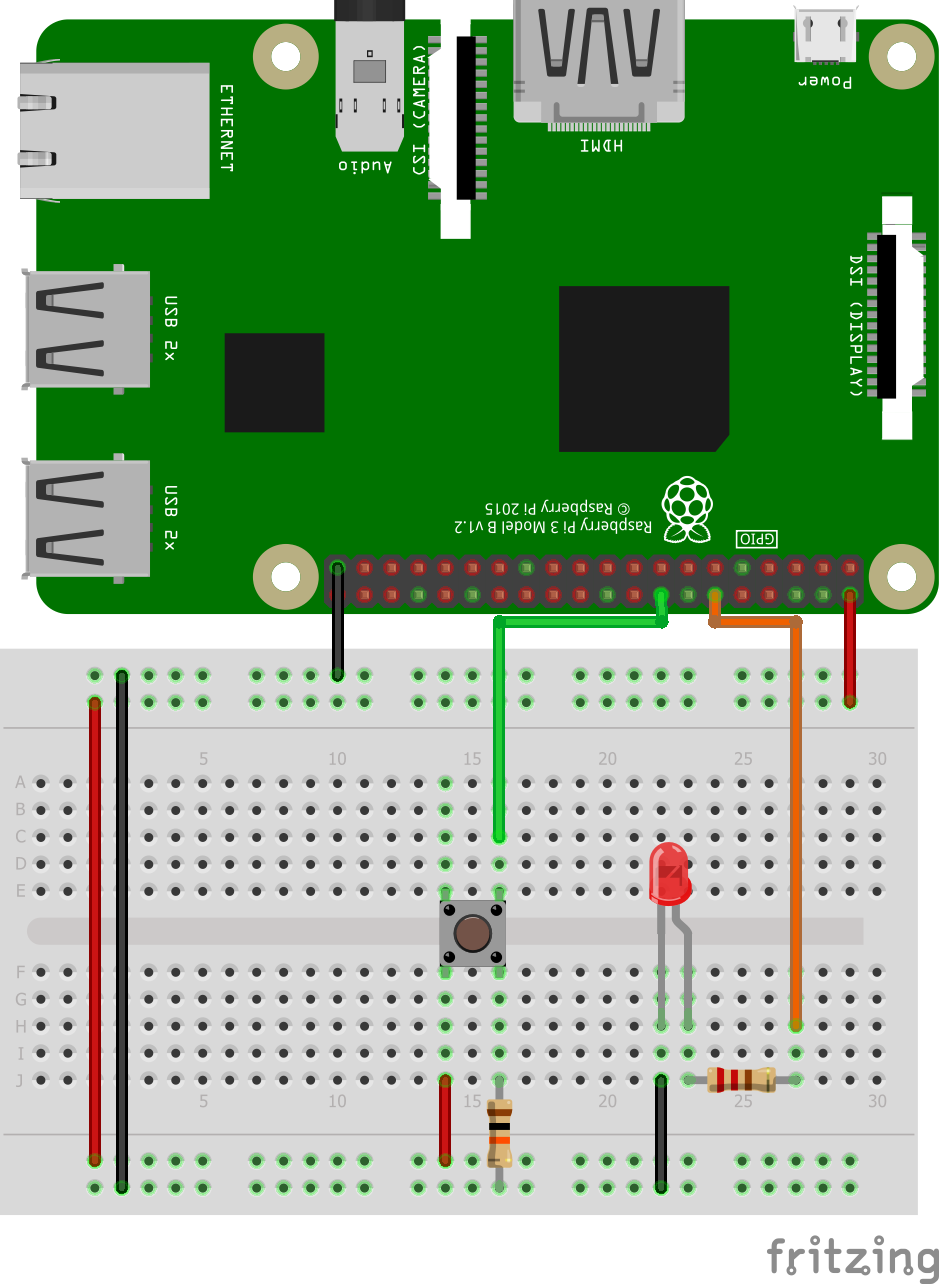
Step 2: Circuit Time
Make a circuit as per the given diagram. Connect the LED to GPIO 18 Pin of Raspberry Pi. Also, connect Pushbutton to GPIO pin 23 as given below.
Step 3: Code Time
This is the code for Pushbutton with LED in Raspberry PI. First import GPIO and Time Library. Set the GPIO 18 as an output pin and GPIO 23 as an input pin. In the while loop, we check the state of Pushbutton. High or True state of Pushbutton will consider that Pushbutton is pressed. If Pushbutton is pressed then LED will turn on else LED will be set to off. This loop will go on and on.
Step 4: Run code to Raspberry Pi
Run the Python program in your Raspberry Pi after setting components as per the circuit diagram. The LED will turn on when you press the Pushbutton and turn off when you release Pushbutton.
For running python code in Raspberry Pi, visit: raspberrypi.org/documentation/usage/python/
Learn basic hardware information of Raspberry Pi 3.