Learn to create and using NGINX web server in Raspberry Pi. NGINX (pronounced engine x) is a popular lightweight web server application you can install on the Raspberry Pi to allow it to serve web pages. Like Apache, NGINX can serve HTML files over HTTP, and additional modules can serve dynamic web pages using scripting languages such as PHP. So, let’s start.
Step 1: Installing NGINX on Raspberry Pi
Start the Terminal window in Raspberry Pi and install NGINX by entering below given command.
sudo apt-get install nginxTo start the NGINX web server enter the following command.
sudo /etc/init.d/nginx startStep 2: Testing the NGINX web server.
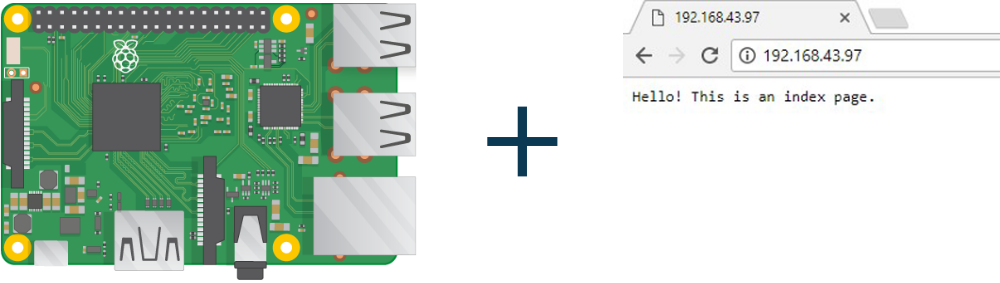
By default, NGINX has test HTML files in the web folder. This page will be served at the localhost on Raspberry Pi and will be accessed through the following ways.
http://localhost/http://"ip address of your Raspberry Pi"/
Step 3: Build an Advanced Webpage
Follow the below-given steps to build the NGINX web server in Raspberry Pi.
- Change default page located at “/var/www/html/index.html”
- To edit this file, you need to change ownership to your username. Assuming your username is Pi, use the following code to change ownership.
sudo chown pi: index.html - Change the contents of “index.html” to your preferred HTML content and save the file. For testing purposes, you can use HTML contents form this page. The HTML content is in step 3 of the page.
- For using PHP, you must save the file as “index.php”
- To see changes take place, go to the browser and reload the page.
Using NGINX server you can view your web pages on another computer connected to the same network.
Learn basic hardware information about Raspberry Pi 3