Build a simple ESP8266 Web Server using Arduino IDE. Learn about connecting it to Wi-Fi and creating a web server using a sample text containing a web page.
Step 1: Required Components
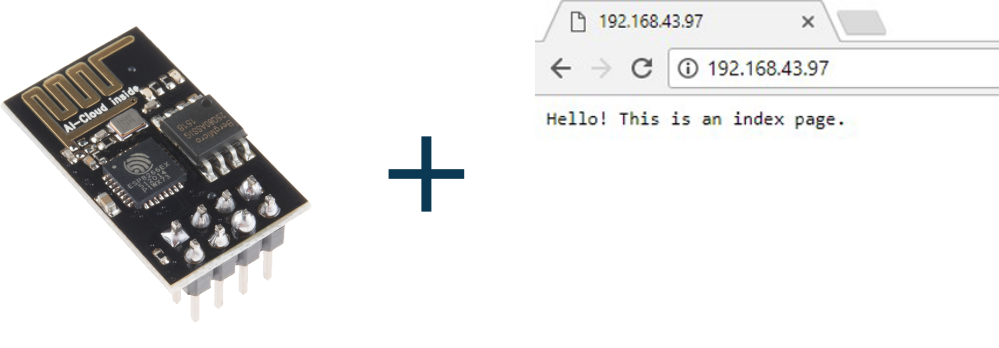
ESP8266 WiFi Module x 1
3.3V Linear Voltage Regulator (LD1117) x 1
Arduino Uno Board (Only for uploading program to ESP8266) x 1
Jumper Wires
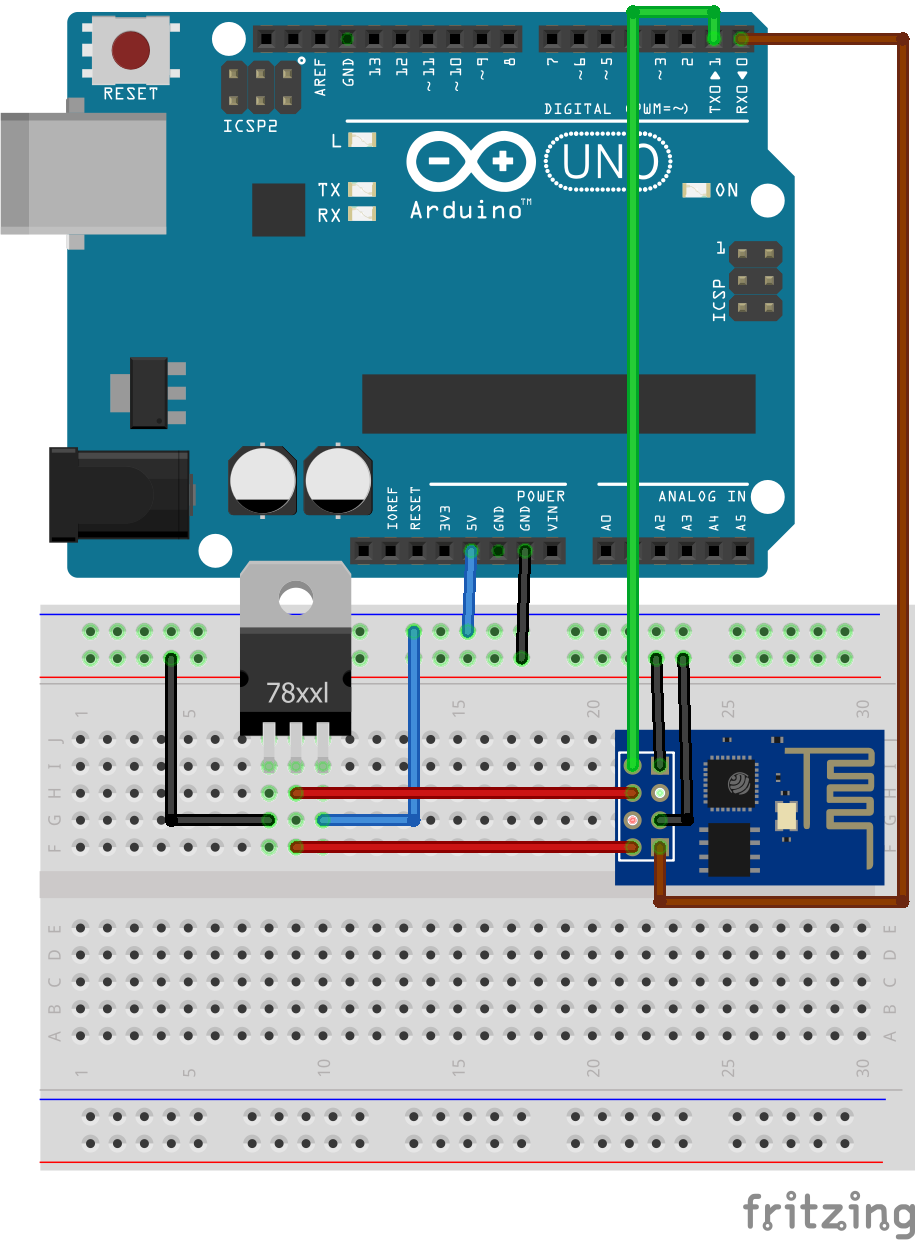
Step 2: Circuit Time
Make a circuit as per the programming ESP8266 with Arduino Board.
Step 3: Code Time
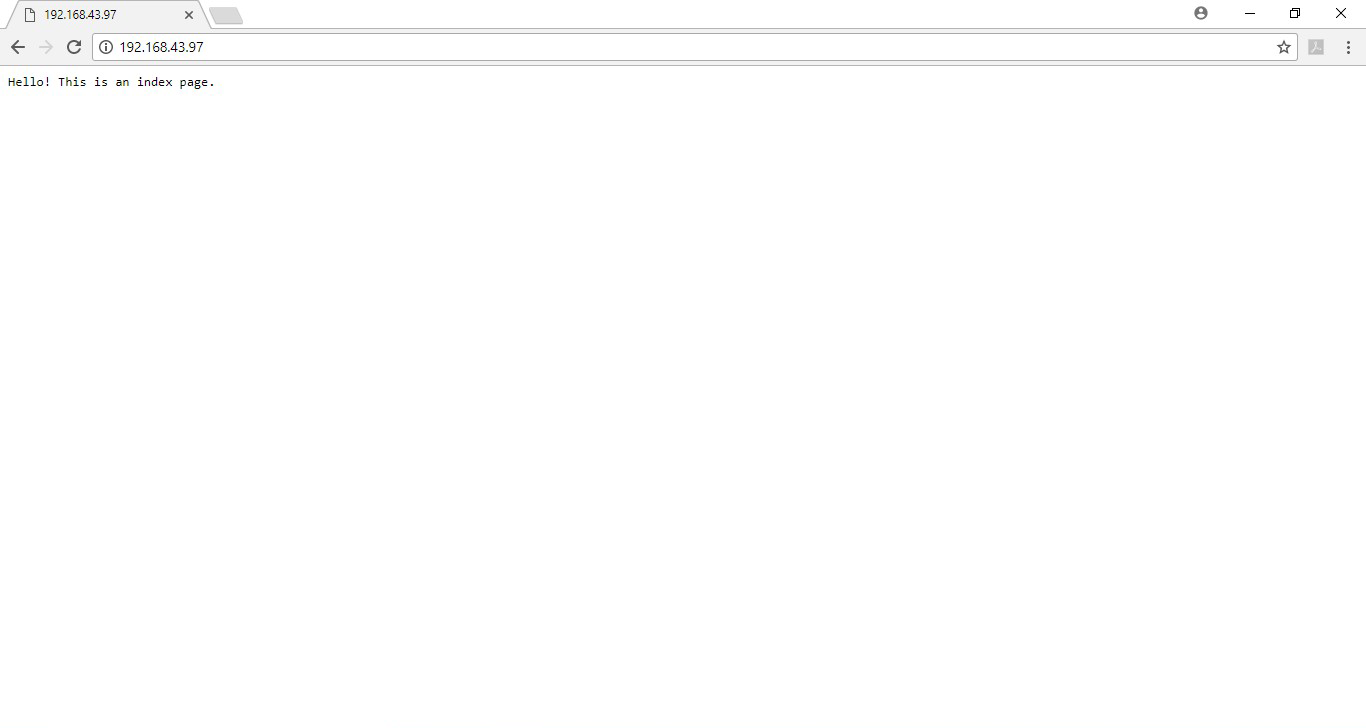
This is code for Creating the ESP8266 webserver. First, we initialized the server at port 80 and two constants for Wi-Fi SSID and Password. In setup, Serial started at 115200 baud to check the status of ESP8266. Wi-Fi begins to connect with SSID and Password and waited till it connects to the Wi-Fi. Print the Local IP to Serial monitor to use that address as the Web server address. Created an index page with the text “Hello! This is an index page.” using the server.on and server.send as you can see in code. And at last, Begin the Server. In loop, server.handleClient() is used for Handling incoming client requests
Step 4: Upload code to ESP8266
Make a circuit as per the above-given diagram to upload code to ESP8266. Make changes to SSID and Password in code and upload the code to ESP8266 using Arduino IDE. Open the Serial monitor IP in your browser after the Serial monitor shows “Server listening” It will look like as below given screenshot.
Learn more information about uploading code to the ESP8266 WiFi Module using Arduino Uno.