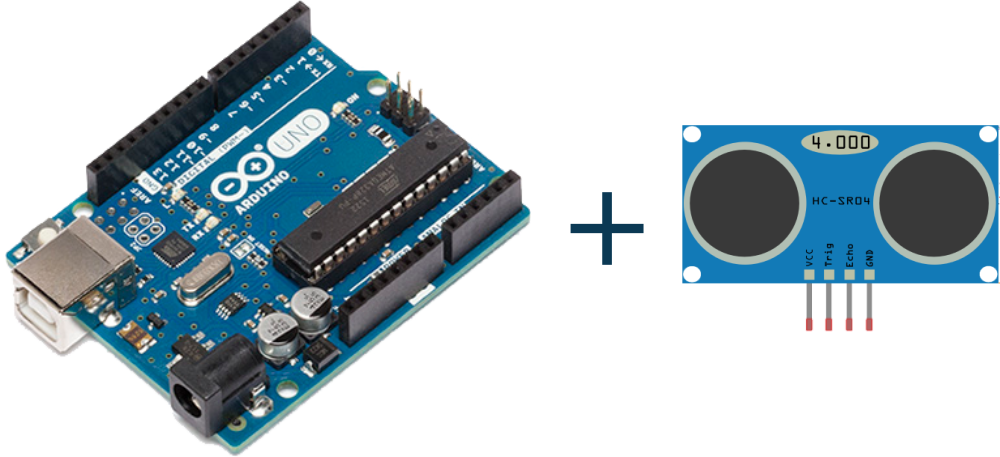
Learn how to use Ultrasonic Sensor in Arduino. Currently, we are using the Arduino UNO board and HC-SR04 as Ultrasonic Sensor. You can use any Arduino/Genuino Board to perform this experiment. Also, view the output on Serial Monitor.
First, let’s start with the basics of the Ultrasonic Sensor HC-SR04.
Operating Voltage: 5V
Current: 15mA
Frequency: 40Hz
Range: 2cm to 400cm
Effectual Angle: 15 degree
Trigger Input Signal: 10uS TTL pulse
Accuracy: ~0.3 cm
Step 1: Required Components
Ultrasonic Distance Sensor (HC-SR04) x 1
Breadboard x 1
Arduino Uno Board x 1
Jumper Wires
Step 2: Circuit Time
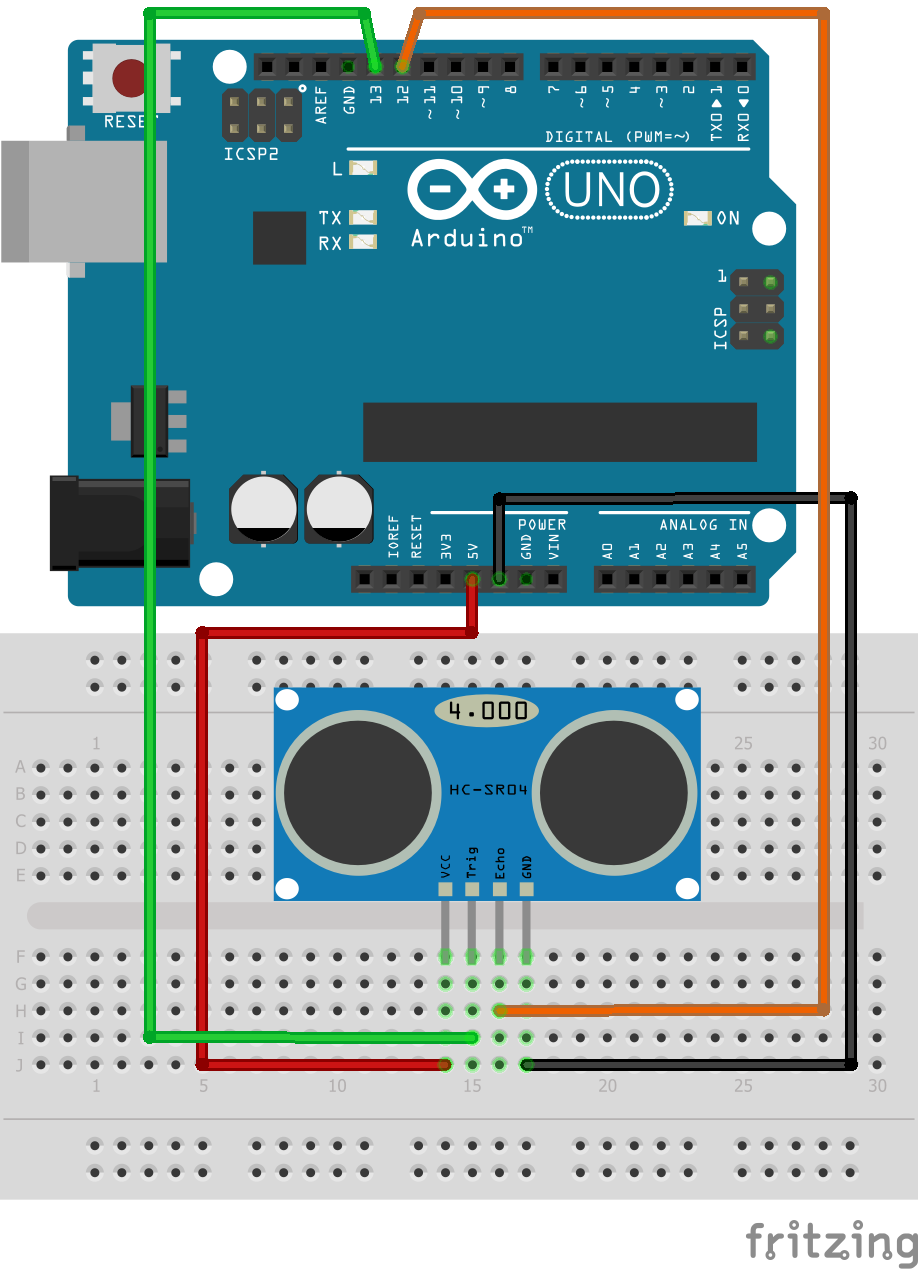
Make a circuit as per the given diagram. In Ultrasonic Sensor there are four pins are available. Left-sided pin VCC is connected to 5V, Trigger pin is connected to 13, Echo pin connected to 12 and GND pin is connected to Arduino Ground.
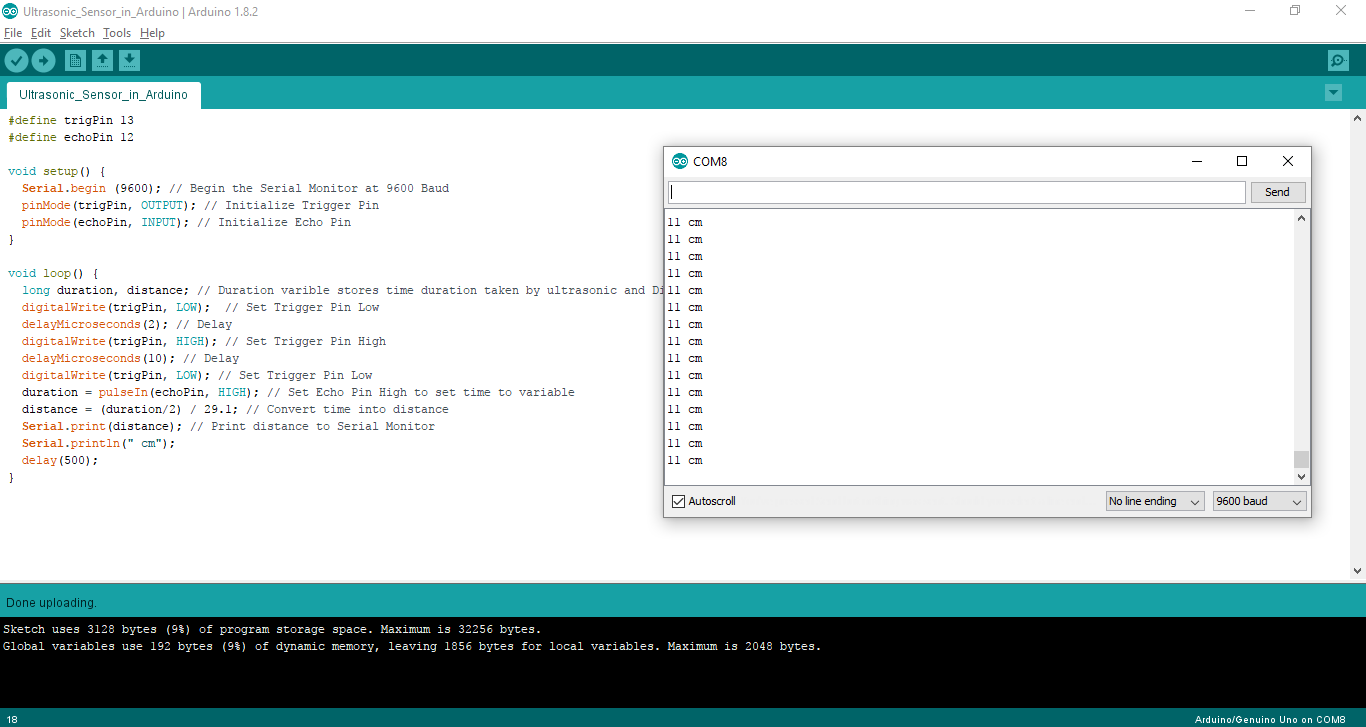
Step 3: Code Time
This is the code for Ultrasonic Sensor. Here, we have declared two pins which are for trigger pin, echo pin and two variables for storing distance and time occupied by the ultrasonic wave. In setup, the pins are defined as input and output and the Serial Monitor is begun at 9600 Baud. In the loop, first, generate a 10-microsecond pulse to start the ranging of Ultrasonic. After this, the time occupied by Ultrasonic stored in the duration. Then converted time into the Distance. Finally printed it to the Serial Monitor.
Step 4: Upload the code to Arduino
Upload the above-given code to the Arduino UNO Board after the components are set as per the Circuit Diagram. The Ultrasonic Sensor will give the time to the Arduino, Arduino will convert it into the Distance and finally, it will show in the Serial Monitor. The screenshot of the output of the Serial Monitor is as below.
Learn more information about uploading code to Arduino Uno.