Learn the interfacing PIR Sensor in Arduino. Passive Infrared Sensor (PIR) has a pyroelectric sensor which generates a signal when exposed to heat. Motion is detected through the generation of heat energy from the human body. This sensor only uses energy given by other objects. Fresnel lens at the top increases the range of the PIR sensor. For this, we will be using Arduino UNO and PIR sensor. So, let’s start.
Step 1: Required Components
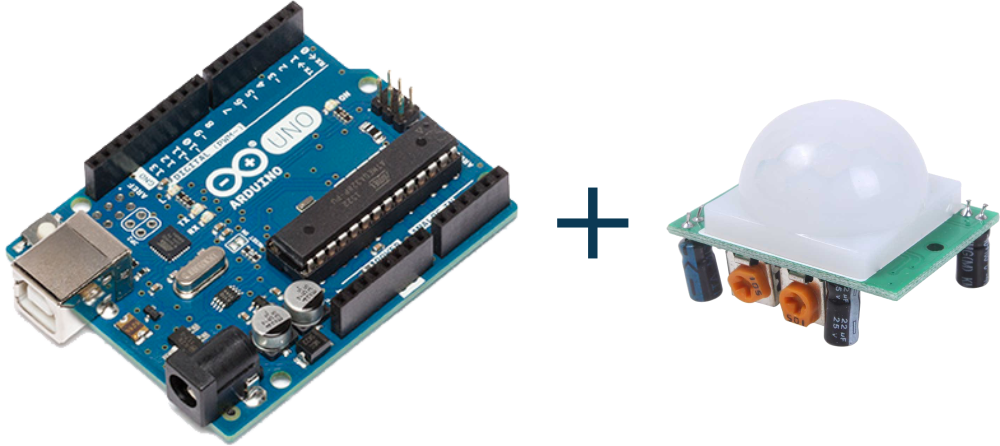
HCSR501 PIR Sensor x 1
Breadboard x 1
Arduino Uno Board x 1
Generic LED x 1
Jumper Wires
Step 2: Circuit Time
Firstly, connect the output pin of the sensor to GPIO pin 8 of Arduino. Then, Connect VCC to + 5v and GND to GND of Arduino. Now, Connect LED to pin 13 of Arduino. There are two potentiometers in the sensor, the left one is for sensitivity and the right one is for the delay time. On detection of motion LED connected to pin 13 will light up.
Step 3: Code Time
The code is quite simple for interfacing PIR Sensor in Arduino. Take sensor pin as input and led pin as an output. As this is a digital sensor, we will use digital read to get the sensor value. If the sensor value is high then LED will turn on.
Step 4: Upload the code to Arduino
Note that the PIR sensor requires 20-60 seconds to warm up. After warming up, if you place a hand in front of the sensor then LED will glow. If the sensor is in nonrepeatable mode constant motion will not be detected.
Learn about uploading code to Arduino UNO.