Previously we learned about the Basics of Arduino Uno Board. Now it’s time to start the Arduino Programming. There are two ways to program your Arduino Board. The first one is using Arduino Desktop IDE and the other is using Arduino Web IDE. Let’s get started with Arduino Programming.
Arduino Desktop IDE
Install Arduino Desktop IDE to your Laptop or PC or else you can also choose Portable IDE. Download Arduino IDE if you haven’t downloaded it.
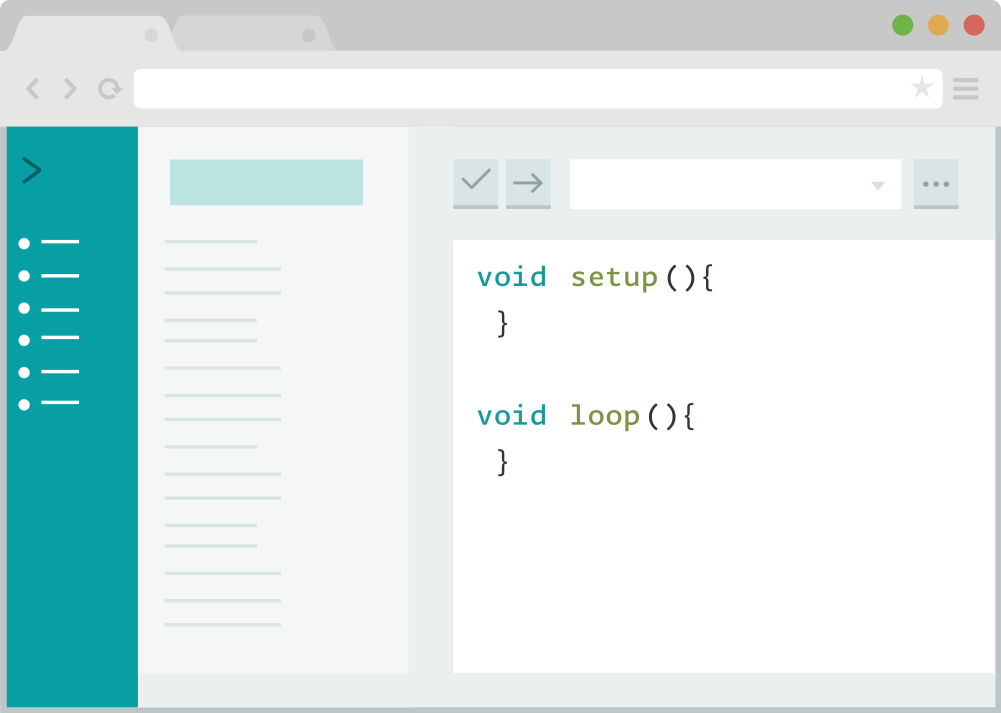
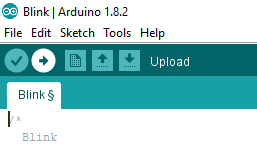
Start the Arduino IDE. It will look like as below given image. Also, connect your Arduino board to the system.

Load Blink program to Arduino
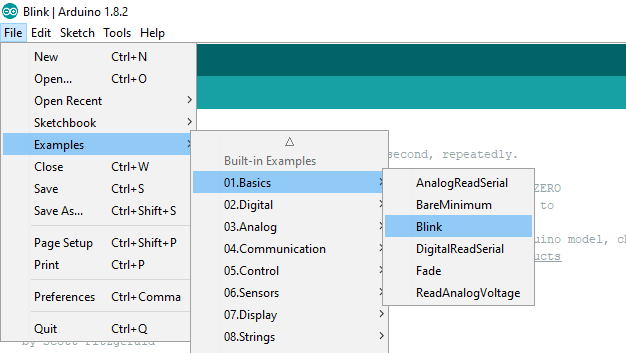
Open Blink sketch from Arduino Examples.
For this go to File > Examples > 01. Basics > Blink
Select board type and port
Board Selection: You need to select your Arduino board from the given board’s list.
For the board, selection go to Tools > Board
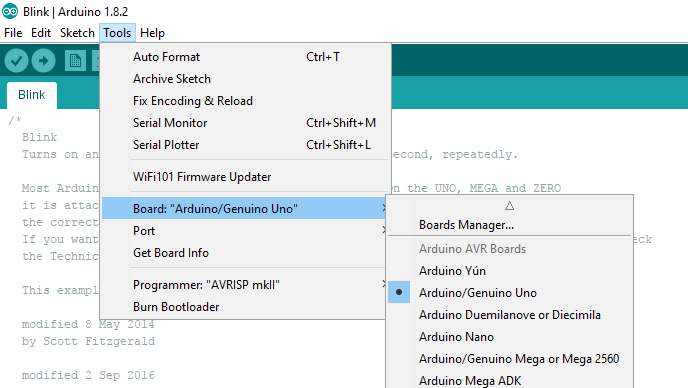
If you can’t find your board on the board’s list click on the Boards Manager and install your board to Arduino IDE.
Port Selection: You need to select your serial device board from the given ports list.
For serial port, selection go to Tools > Port
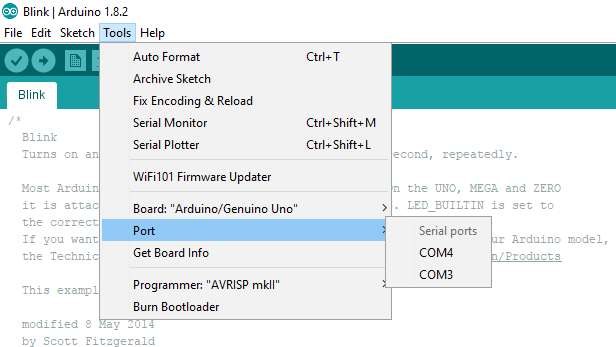
If your board doesn’t show in the ports list please reconnect the Arduino Board. It will appear in the ports list.
Uploading the program to Arduino
It is time to upload your sketch to the Arduino Board. Click on the upload button and wait for some time. RX and TX LED on the Arduino board will start flashing.
If your program is successfully uploaded to Arduino Board then it will show “Done uploading.” in the status bar. After successfully uploading your program you can find the ‘L’ led on your Arduino board is blinking. If you have problems, please refer to the Arduino troubleshooting suggestions.