

Learn Serial communication between NodeMCU and Arduino. Transmit data between two NodeMCU and Arduino using RX/TX lines. How Software Serial read and write works. You can perform it on NodeMCU and Arduino Board.
First, learn about the SoftwareSerial Library of Arduino IDE. SoftwareSerial allows serial communication on other digital pins using software to replicate the functionality. Here we are using SoftwareSerial to start Serial at 9600 Baud. In general case, the serial will start at 115200 Baud Rate because NodeMCU works on that rate.

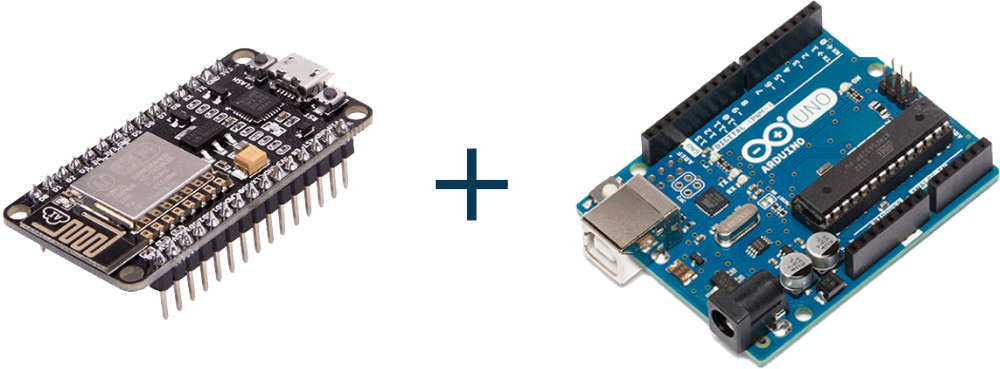
Step 1: Required Components
NodeMCU WiFi Module x 1
Arduino UNO Board x 1
Breadboard x 1
Jumper Wires
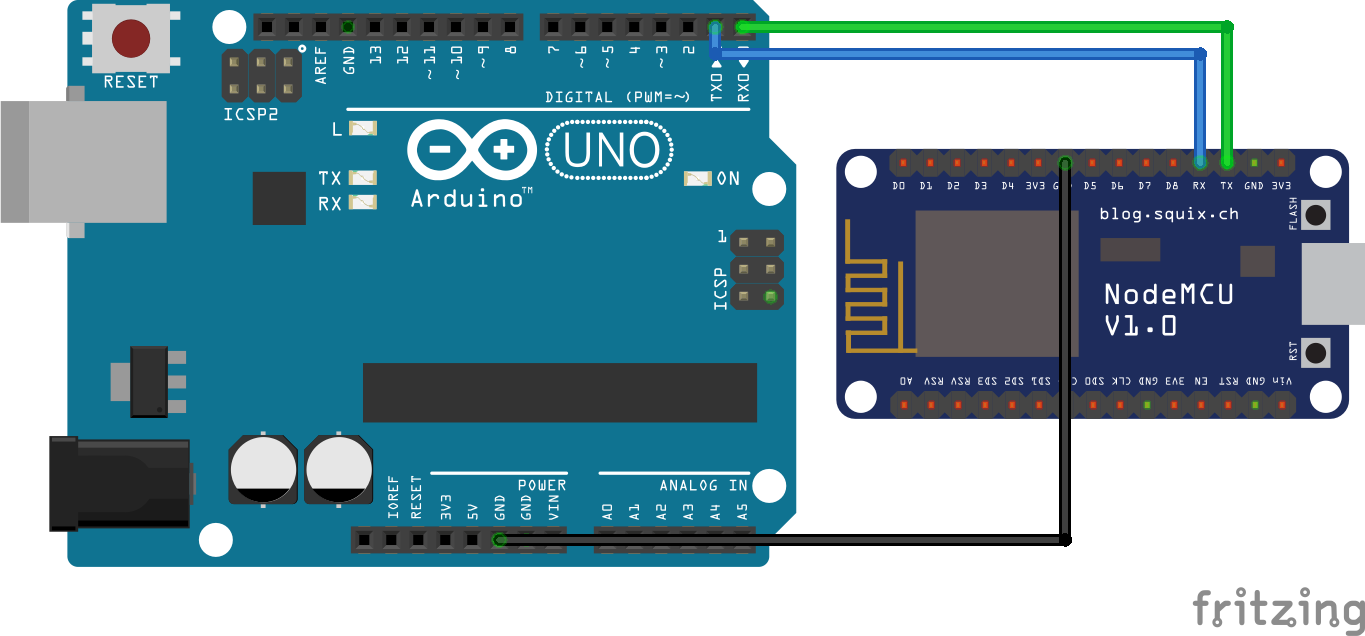
Step 2: Circuit Time
Make a circuit as per the given diagram after uploading the program. Connect the RX pin of NodeMCU to the TX pin of Arduino. Also, connect the TX pin of NodeMCU to the RX pin of Arduino. Common both Grounds of NodeMCU and Arduino as per diagram.
Step 3: Code Time
These are two codes for Serial communication between NodeMCU and Arduino board.
Code for Sender NodeMCU
This is code for Sender NodeMCU. First included the SoftwareSerial Library and started SoftwareSerial at RX and TX pin. In Setup, SoftwareSerial is started at 9600 Baud. In the loop, written ‘123’ to the Serial.
Code for Receiver Arduino
This is code for Receiver Arduino. First declared a variable to store received data. In Setup, Serial Begin at 9600 Baud. In the loop, read the serial data and store it in a variable.
Step 4: Upload the code
Upload the code to NodeMCU and Arduino Board. Make a circuit as per the given diagram after uploading code. ‘123’ will be transmitted from Sender NodeMCU to Receiver Arduino. You can transmit your data or variable like this.
Learn about Serial communication between two Arduino Boards.
For information about uploading code to NodeMCU and Arduino Board visit reference links.