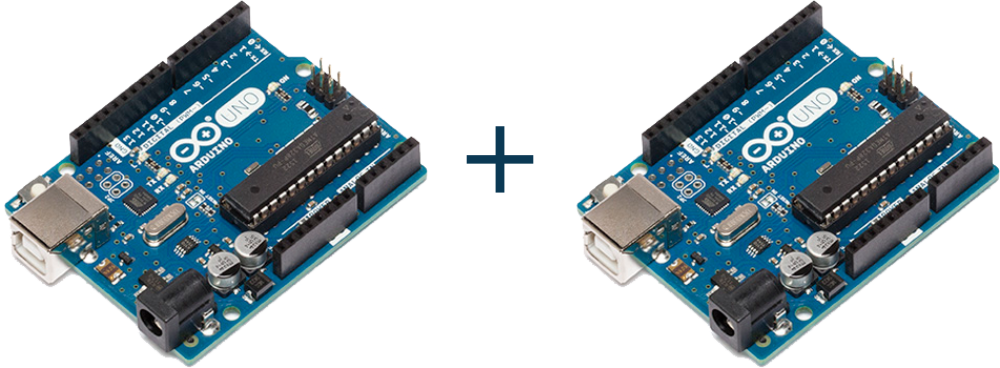
Learn the Serial communication between two Arduino. How Serial read and write works. Serial Communication between two Arduino UNO Board is given in this article. You can perform this on any two Arduino boards or another serial communicating device. RX receives serial data and TX sends the serial data to other board or device.
Step 1: Required Components
Arduino UNO Board x 2
Jumper Wires
Step 2: Circuit Time
Make a circuit as per the given diagram. Connect both the RX and TX pins of Arduino vice versa (first Arduino’s TX pin to another’s RX pin and first Arduino’s RX pin to another’s TX pin). Also, common the ground pin of both Arduino.
Step 3: Code Time
There are two codes for two Arduino boards. One for the sender and other for the receiver.
Code for Sender Arduino
This is code for Sender Arduino Board. First, initialize a string with data “Hello”. In setup, the Serial Monitor is begun at 9600 Baud. In the loop, sent the data to receiver Arduino using Serial.write. Learn more information about Serial.write.
Code for Receiver Arduino
This is code for the Receiver Arduino Board. First, initialize a blank string to store serial received data. In setup, the Serial Monitor is begun at 9600 Baud. In the loop, the received the data from sender Arduino using Serial.readBytes. Learn more information about Serial.read.
Step 4: Upload the code to Arduino
Upload the code to the sender Arduino code to one board and receiver Arduino Board code to another device. Make a circuit as per the given diagram after uploading code. It will transmit “Hello” from one Arduino to another Arduino board or other device. You can transmit your data or variable like this.
Learn about uploading code to Arduino Board.
Note: If it shows error while uploading code to Arduino. Then, disconnect the connection between Arduino and try to upload the program on it.

